Journey Mapping
What is it?
Journey Maps are a visual representation of an individual’s experience across stages, actions, emotions, and pain points. It can be applied to user journeys (specific product/service usage) or customer journeys (broader relationship with an organization). Maps may represent the current state - showing all of the pains and frustrations of the user today, or represent a target vision of an experience a team is striving to deliver.
Why do it?
Mapping these processes help teams align around a shared understanding of an end-to-end experience. It will reveal pain points, friction, and moments of delight so that decision-making is grounded in empathy around the user and/or customer experience. These maps help tell a narrative and can be used to share information and align cross-functional teams. These maps serve as a strong visual representation to help communicate design, strategy and priorities.
When to do it?
Run this play to build a map of the current state after you have some insight into the experience you want to map (such as from research, analytics, or stakeholder input) - but before detailed solution design or implementation begins. Build a target/future state journey map after you know the outcomes your team is trying to achieve and you want a way to visually represent an experience for a future state of a product or service.
Who to Involve?
Journey maps are a key tool in a User Experience Designer’s toolbox - and are typically led by a Designer. A full balanced team should be a part of the activity to build shared understanding across the team. Journey Maps can be built as a research synthesis artifact or built collaboratively with a user or customer.
Tools You Might Need
In Person: Whiteboard/butcher paper, stickies, markers
Digital: Whiteboard tool such as FigJam, Mural, etc
In either case you should have your defined personas, and research insights - interview quotes, analytics, support tickets, survey results, etc that would help you understand the experience across an end-to-end journey.
Time You Might Need
About an hour - for more complex journeys, extend to 90 minutes.
How to do it (Steps)
- [Prerequisite] Gather Research Insights. Pull together all relevant information:
- Qualitative: user interviews, customer feedback, observational notes
- Quantitative: analytics, funnel data, transaction records
- Existing personas or audience segments
- Prep the Template & Agenda
- Choose a journey scope (e.g., onboarding, purchasing, support request, full lifecycle). Determine the bookends for your map.
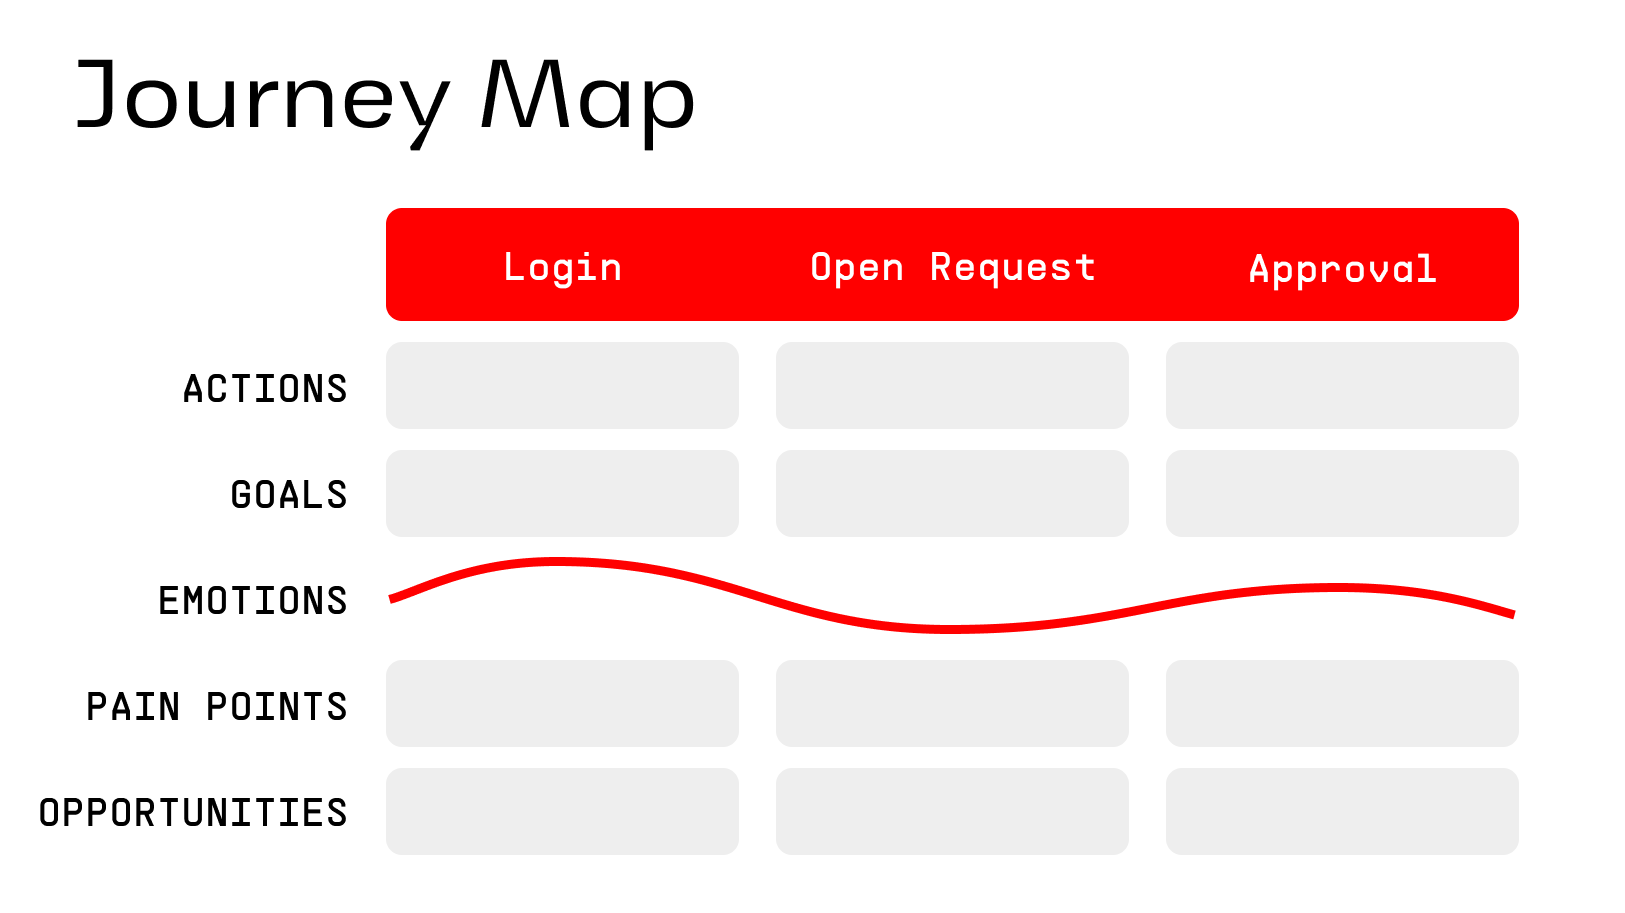
- Set up your map structure: Phases → Actions → Goals → Thoughts/Feelings → Pain Points → Opportunities.
- Set the Stage (5 min)
- Kick off the session with what we’ll be accomplishing and why we are focused on this.
- Introduce the persona, the templates and the bookends of the journey.
- Define Phases of the Journey (10 min)
- Fill in the high level journey steps between your determined “bookends.”
- Map Actions & Goals (10 min)
- For each phase, capture the actions - what the person is doing, where they interact (channels, devices, people) and what their goal is at that point in the journey
- Add Thoughts & Feelings (10 min)
- Record what the person is likely thinking and feeling at each step. Use real quotes and data where possible to keep the map rooted in actual research data.
- Identify Pain Points & Opportunities (15 min)
- Highlight friction points, frustrations, gaps. Brainstorm ideas for improvement or innovation
- Reflect & Close (10 min)
- Recap the activity highlighting patterns, recurring issues, emotional highs and lows. Discuss where there is opportunity to further validate with research.
- Talk about how this map will be used and assign owners for any next steps for refinement, sharing, and follow-up research.